



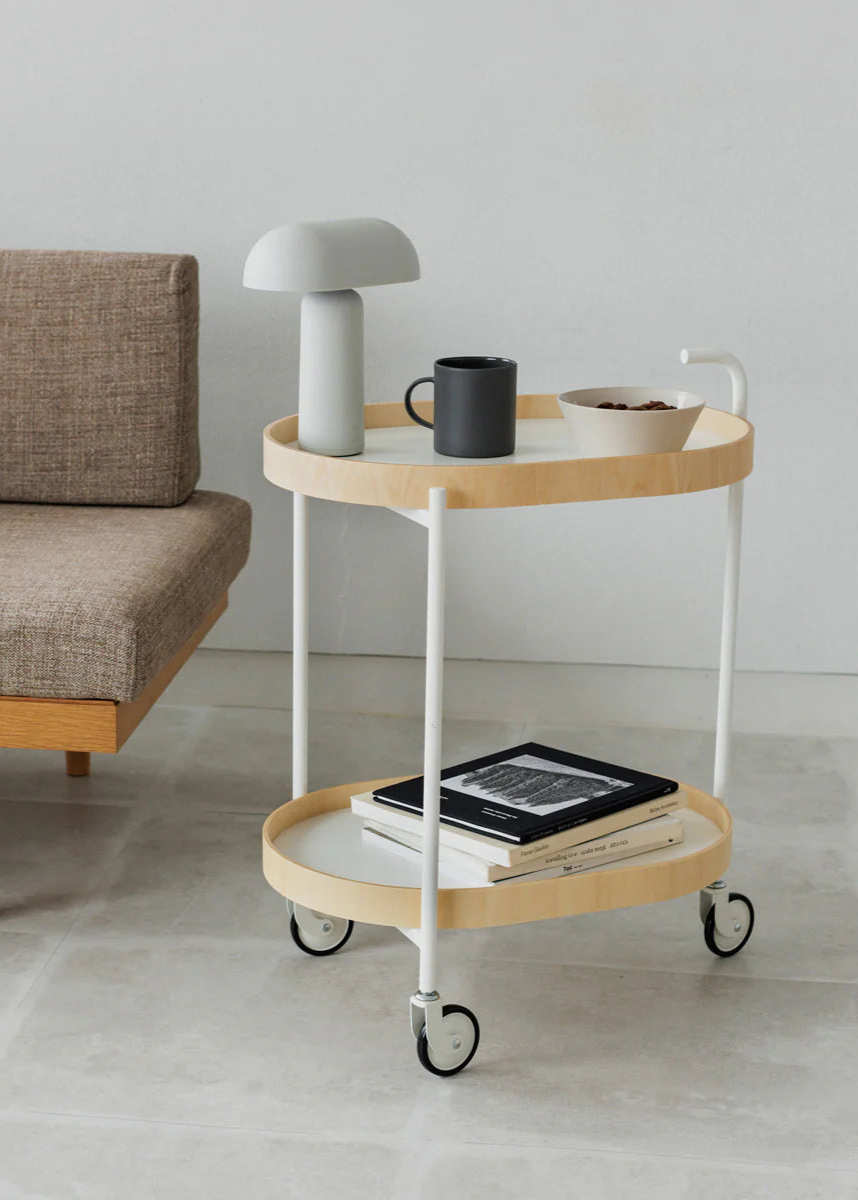




The whole point of the TRAVELER'S notebook lies in one word: compose. The leather cover remains the same for years, and you decide what goes inside. Refills, planners, pouches, accessories: you assemble your notebook to reflect yourself, you evolve it, and it never looks like your neighbor’s. Here’s how to build yours, step by step.
À découvrir



The principle: one cover, multiple refills
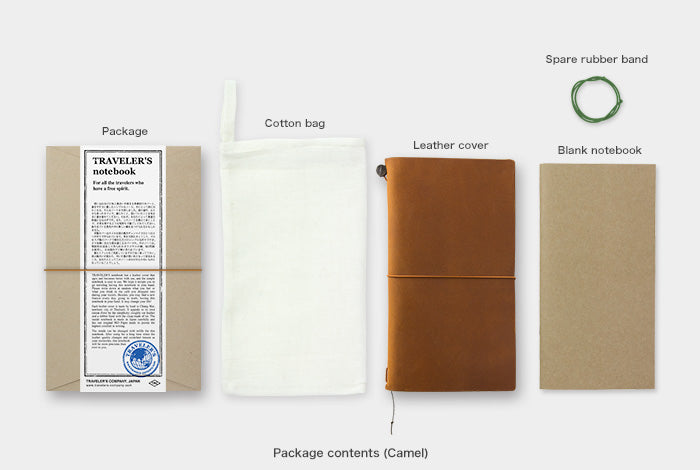
A TRAVELER'S notebook is above all a cowhide leather cover, crossed by a central elastic. This elastic holds an inner notebook, the refill, which slips in the middle. When the refill is finished, you remove it and put in a new one: the cover, however, continues to live and develop a patina. It is this simple system that makes the notebook almost indestructible and infinitely customizable.

Step 1: choose your first refill
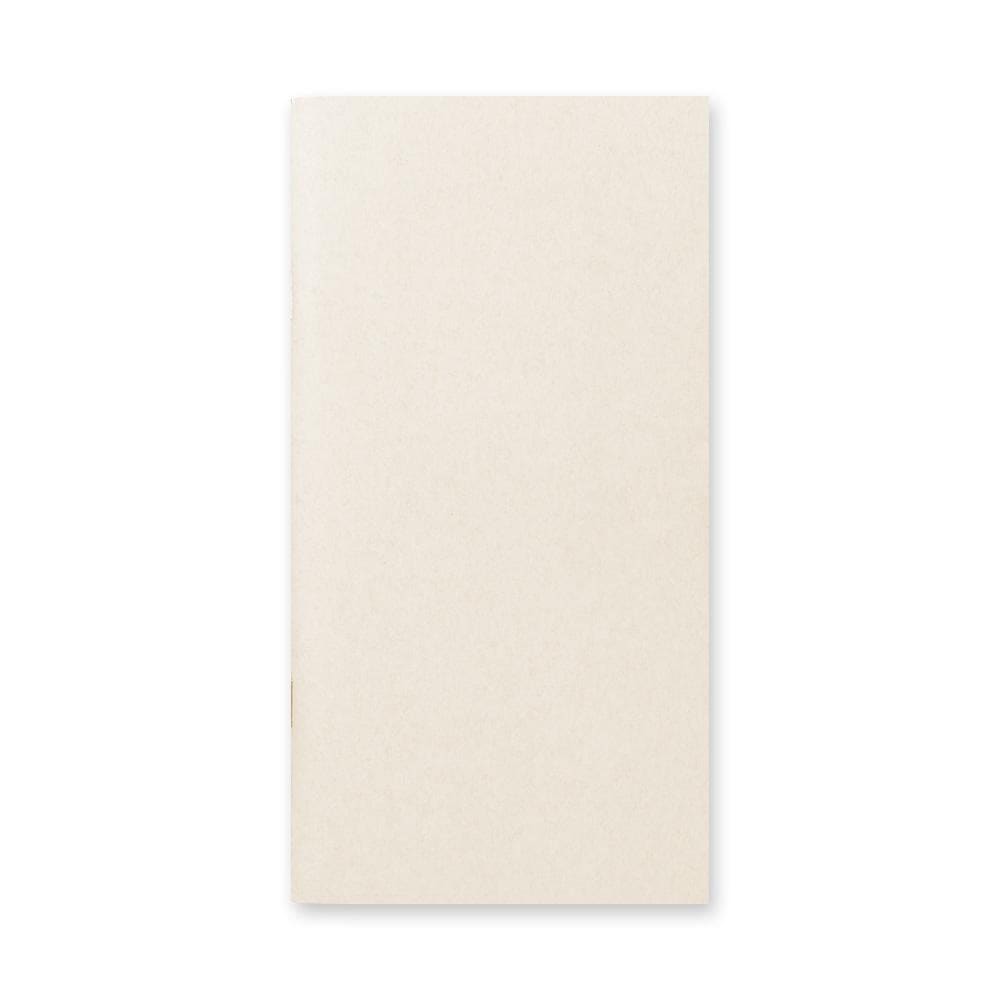
We almost always start with a writing refill. The lined refill is suitable for note-taking and journaling, the grid one offers more structure, the dotted version is a discreet good compromise, and the blank page gives full freedom for drawing. All use MD paper, designed in Japan for writing comfort. This is the base of your notebook, the one you will fill first.
Step 2: add other notebooks
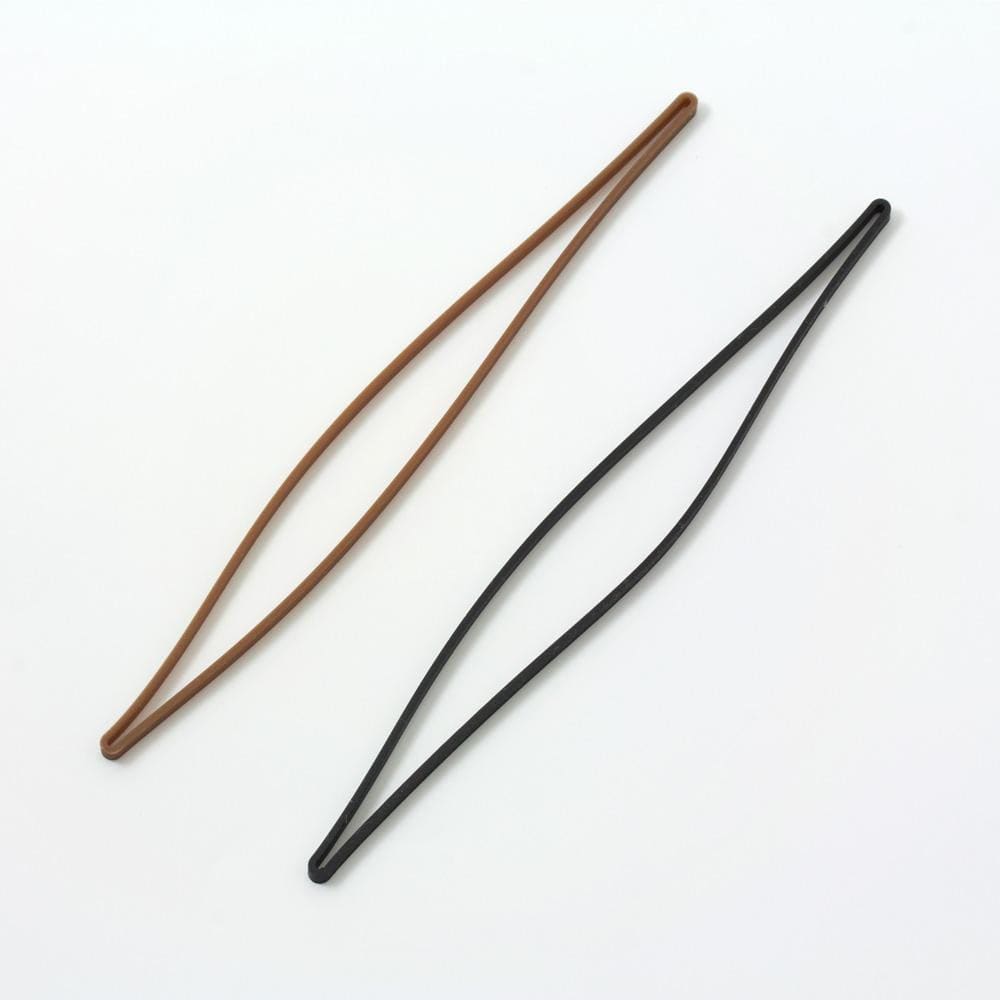
Most covers have a second, shorter inner elastic that allows you to slip in a second refill. To go further, a connecting band is used: a simple elastic that links two notebooks together. This way, you can combine a notebook, a planner, and a sketchbook in a single cover. Our advice: keep around three to four refills to maintain a notebook that's pleasant to handle. The full step-by-step is in our guide installing a refill.

Step 3: think paper
Beyond standard MD paper, there are special papers that change the experience: thin paper to fit many more pages and write with a fountain pen, kraft paper for light inks, sketch or watercolor paper for drawing. You can mix several papers in the same cover, depending on what you do. To compare everything, see which paper to choose.
Step 4: the accessories that make the difference
This is where each notebook becomes unique. The zippered pouches store tickets, stamps, and small cards. Kraft pouches and folders hold loose sheets and travel souvenirs. The pen holder clips onto the cover to always have a pen at hand. Brass clips and charms keep the notebook open and develop a patina over time. Finally, card holders and binders allow you to archive finished refills. Our guide the accessories details everything.

Three configuration examples
The traveler's notebook
A lined refill for the logbook, a monthly planner, a zippered pouch for tickets, and a pen holder. Lightweight, complete, ready to go.
The bullet journal
A dotted or grid refill as the main support, a blank refill for drawing, brass clips, and stickers to organize your pages.
The professional notebook
A lined refill for meetings, a vertical weekly planner for scheduling, and a card holder for business cards.
A notebook that evolves with you
Nothing is ever fixed. You start simple, with a cover and a notebook, then add over the months what you need, remove what you no longer use, and archive full notebooks. The TRAVELER'S notebook is never really finished: it transforms with your habits, and that is precisely what creates attachment.
Beginner mistakes to avoid
Two pitfalls often come up. The first is wanting to put everything in at once: an overloaded notebook becomes thick, heavy, and closes poorly, so we recommend a maximum of three to four refills. The second is choosing the wrong format: refills and accessories come in Regular and Passport, and the two are not compatible, so always check before buying. For the rest, let the notebook evolve at your own pace: there is no right or wrong setup, only yours.
Frequently asked questions
How to put several notebooks in one cover?
With a connecting band, an elastic that links two refills together and attaches to the central elastic.
How many refills can you put in?
Technically several, but we recommend three to four to keep the notebook pleasant to handle.
Can you change the refills yourself?
Yes, in seconds and without tools: you remove the finished notebook and slip in a new one.
Are accessories included?
No, pouches, pen holders, charms, and connecting bands are chosen separately, according to your needs.
To go further: the complete guide, Regular or Passport, refills and planners, and accessories. See the TRAVELER'S notebook collection.


Leave a comment
This site is protected by hCaptcha and the hCaptcha Privacy Policy and Terms of Service apply.