


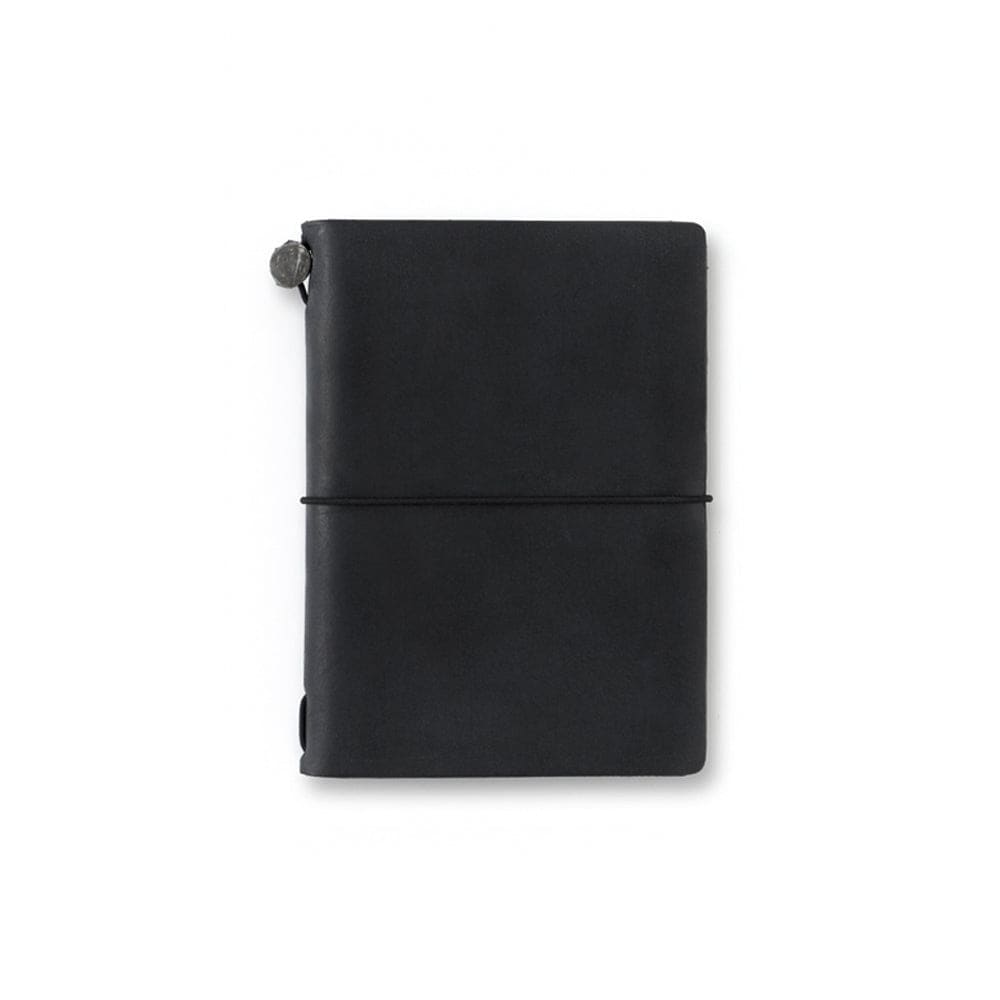
Installing or changing a refill in your TRAVELER'S notebook takes a few seconds and requires no tools. It's one of the great pleasures of the notebook: you can constantly evolve it. Here is the step-by-step, whether you want to slide in a single notebook or combine several in the same cover.
À découvrir


Installing a refill
- Open the refill in the middle, where you see the staples or central stitching.
- Slide the open refill under the central elastic, inside the cover.
- Center it well: the central fold of the refill must rest exactly on the elastic so that it stands straight.
That's it. The refill is held by the elastic and opens flat. To remove it once finished, simply slide it out of the elastic and insert a new one.

Adding a second refill
Most covers have a second, shorter inner elastic designed for a second refill. Pull it slightly to give yourself some slack, then slide a second notebook in exactly like the first. You now have two refills in one cover, for example a notebook and a planner.
Using the packaging elastic
Do not throw away your notebook packaging: the elastic that closes the box can be used to add an extra refill. Slide it around the cover, fitting it into the small notches provided at the top and bottom, then insert the refill through this elastic. The only downside is that the elastic remains visible on the outside and can catch on things. It's a free trick before investing in a connecting band.
Connecting bands, to go further
To combine three or more refills, use a connecting band, an elastic designed to link the notebooks together. There are two methods.
Method 1, inside the notebook
Slide the first refill under the central elastic. Place the second next to it, then open both notebooks in the middle and hold together the second half of the first and the first half of the second. Pass the connecting band around the two. Repeat the operation to add more refills.
Method 2, outside then insert
First, connect the two refills together with the band, outside of the cover. Close the whole, then slide one of the refills under the central elastic: the elastic fits between the two notebooks, and the block appears well centered in the cover. This method leaves the central elastic free to add a third refill.

Centering your inserts properly
If your inserts seem misaligned relative to the center of the cover, this is often normal with the first method. The second method corrects this small defect. In any case, open each insert well in its center before installing it: this is the action that guarantees a straight and balanced notebook.
Maximum number of inserts?
Technically, you can add many, but it is recommended to stay around three to four inserts. Beyond that, the notebook becomes thick, heavy, and the inserts end up sticking out of the cover. Three inserts, for example a notebook, a planner, and a sketchbook, already offer great versatility.
Maintaining the elastics
Over time, the central elastic can loosen. No worries: a repair kit contains replacement elastics, a clasp, and new bookmarks to restore the notebook. A TRAVELER'S notebook is made to last, and this is also true for its elastics.
If an insert slips or gets damaged
If an insert tends to slip, check that it is properly opened in the center and that the fold rests on the elastic: this is almost always the cause. If the central elastic has lost tension over time, a repair kit allows you to replace it in a few minutes. And if a cover gets wet, gently wipe it and let it air dry away from any heat source to preserve the leather.
Frequently asked questions
Do you need a tool to install an insert?
No, everything is done by hand in a few seconds.
How to remove a finished insert?
Just slide it out of the elastic, then insert a new one.
How many notebooks can you put in?
Up to three or four to keep a notebook pleasant to use and well closed.
My inserts are misaligned, is that normal?
Yes, with the first connection method. The second method, where the elastic passes between two inserts, centers them better.
To go further: compose your notebook, the accessories and the complete guide. See the collection TRAVELER'S notebook.


Leave a comment
This site is protected by hCaptcha and the hCaptcha Privacy Policy and Terms of Service apply.